
Ansible - How to Install on Windows 10
What is Ansible? Link to heading
Ansible is open-source software for provisioning, configuration management, and application deployment. I’ve already explained to you that I love it. It’s agent-less, it’s easy to write and read, it’s ensuring idempotency, it’s my number one tool when building automated tasks. It has only one limitation, and it will only run on Unix-line systems (Linux, Unix, BSD). The running environment can be a “control” virtual machine running on your laptop or somewhere in the cloud. However, with the Windows 10 version 1607 and later we can install compatibility layer for running Linux binary executables natively using Windows Subsystem for Linux (WSL)
Using your favourite GNU/Linux distributions on Windows (enabling WSL) Link to heading
Recently I’ve got a task from one of our clients to create an immutable and reusable infrastructure in OpenStack with Terraform and Ansible. Provided scripts must be runnable from desktop machines running Windows 10. The Part of task deliverables was also information and documentation on how to install all required software on these machines. While installing OpenStack CLI and Terraform is pretty straightforward, it’s not the same story with Ansible. As we already mention, we need a GNU/Linux environment for that, and therefore the Windows Subsystem for Linux is the answer. To make things a little more interesting, there were some limitations:
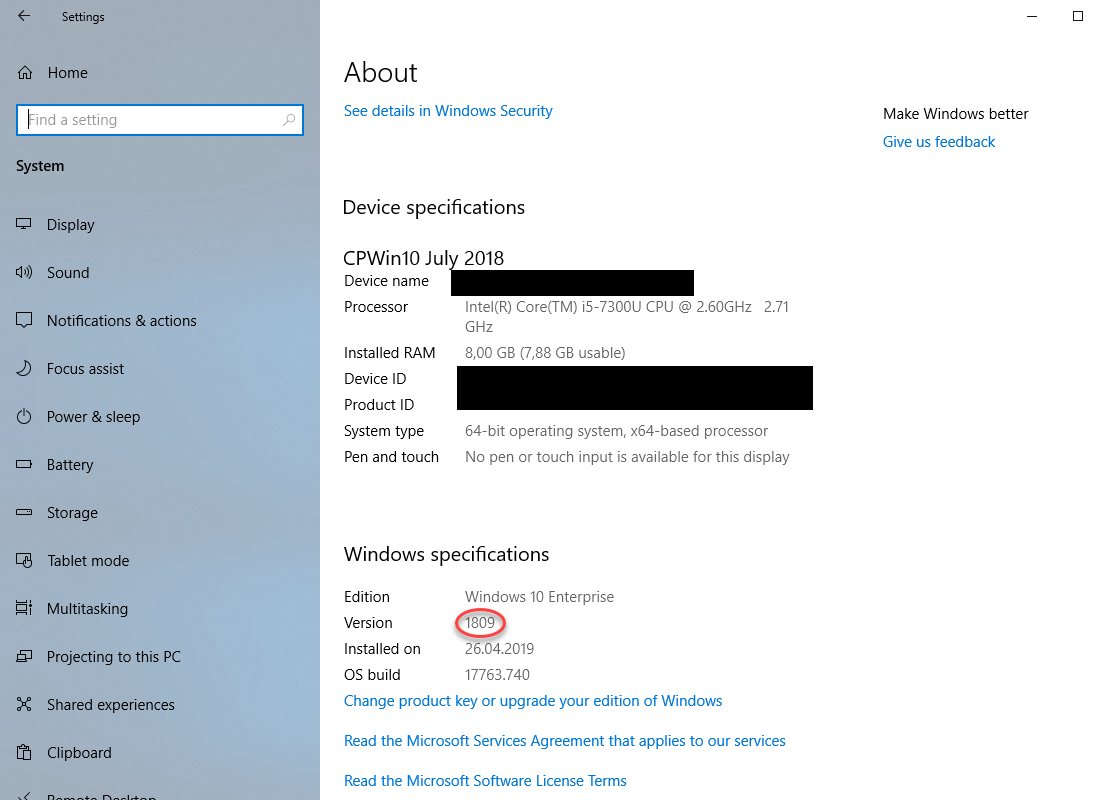
- Windows 10 laptops have build version 1809, so only WSL 1 can be installed
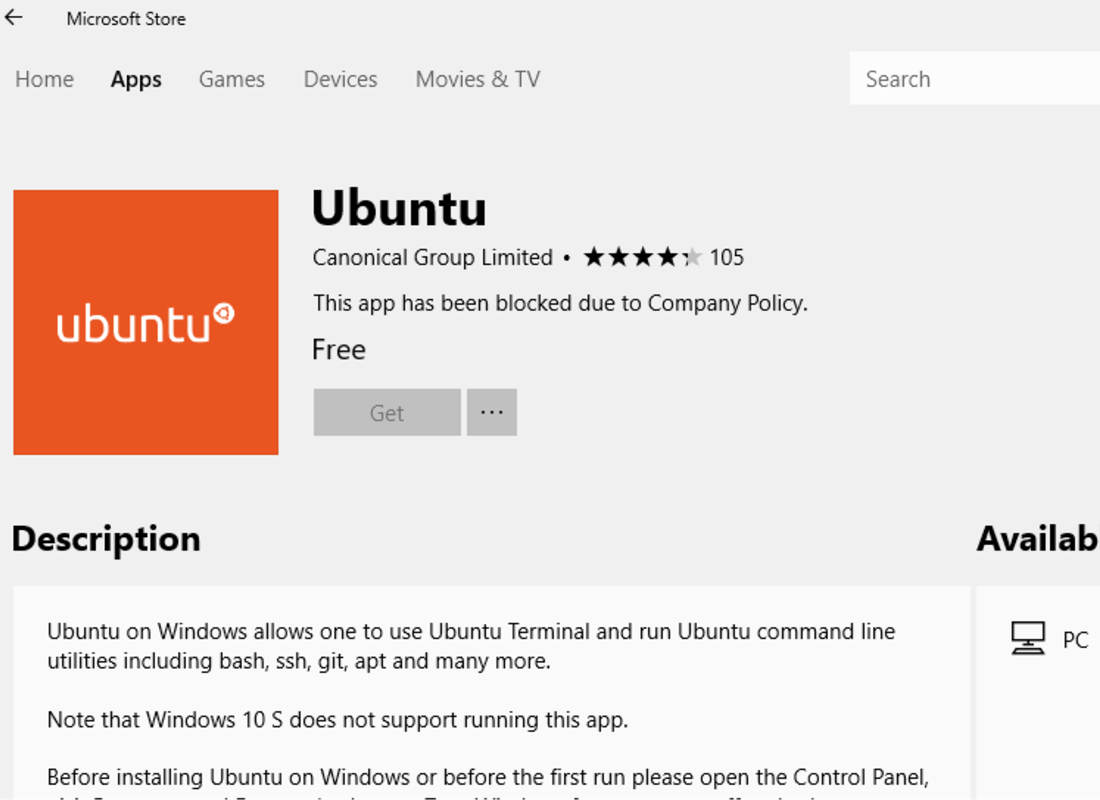
- Due to Company Policy Linux Distributions can not be installed from the Microsoft Store
All requirements can be done without too much research. All the information can be found on Microsoft documentation for end-users, developers, and IT professionals.
Once we’ve enabled “Windows Subsystem for Linux” feature on Windows 10, we can start with downloading, extracting and installing a Linux distro from the Command-Line.
Download, extract and install a Ubuntu 18.04 Link to heading
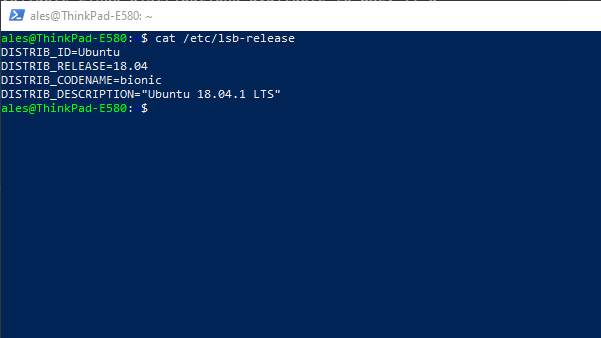
Ubuntu 18.04.3 LTS
Open PowerShell as Administrator and run
# We can add our distro to any path (C:\Ubuntu in this example)
PS C:\Windows\system32> cd /
PS C:\>
PS C:\> Invoke-WebRequest -Uri https://aka.ms/wsl-ubuntu-1804 -OutFile Ubuntu.appx -UseBasicParsing
PS C:\> Rename-Item ./Ubuntu.appx ./Ubuntu.zip
PS C:\> Expand-Archive ./Ubuntu.zip ./Ubuntu
PS C:\> cd .\Ubuntu\
# Launch our distro by typing ubuntu1804.exe
PS C:\Ubuntu> .\ubuntu1804.exe
Here we can find and download all the Linux/WSL distros.
Distro management Link to heading
WSL Config (wslconfig.exe) is a command-line tool for managing Linux distributions running on the Windows Subsystem for Linux (WSL). It lets you list available distributions, set a default distribution, and uninstall distributions.
This only applies for versions earlier than Windows 10 Version 1903
In addition to Ubuntu, other distributions can also be installed in parallel. Lists available Linux distributions available to WSL. If a distribution is listed, it’s installed and ready to use.
PS C:\> wslconfig /l
Windows Subsystem for Linux Distributions:
Debian (Default)
Ubuntu-18.04
PS C:\>
While Linux distributions can be installed through the different options, they can be unregistered only through the WSL Config.
Unregisters the distribution from WSL so it can be reinstalled or cleaned up.
PS C:\> wslconfig /u Ubuntu-18.04
To completely delete a distribution, delete the folder where it was unpacked/installed.
Install Ansible Link to heading
Ansible version 2.8.0 inside it’s own virtual environment
We could install Ansible directly from the package repository, but the version is likely outdated. Our way of installing Ansible is inside a virtual environment so we can easily switch between different versions. The easiest way to install the latest packages supported by the vast community is to install the Homebrew package manager for Linux.
Launch a distro and set up a new Linux user account Link to heading
Open PowerShell as Administrator and launch our distro by typing ubuntu1804.exe in folder C:\Ubuntu. Once the installation is complete, we’ll be prompted to create a new user account (and its password).
Let’s first update & upgrade Ubuntu packages
ales@ThinkPad-E580:~$ sudo apt update && sudo apt upgrade
Install Homebrew package manager for Linux Link to heading
# Install Homebrew requirements
$ sudo apt install build-essential curl file git
# Install Homebrew
$ sh -c "$(curl -fsSL https://raw.githubusercontent.com/Linuxbrew/install/master/install.sh)"
# Configure Homebrew in your ~/.profile by running
$ echo 'eval $(/home/linuxbrew/.linuxbrew/bin/brew shellenv)' >> ~/.profile
# Reload .profile
$ source ~/.profile
# Let's check brew installation
$ brew doctor
Warning: umask is currently set to 000. Directories created by Homebrew cannot
be world-writable. This issue can be resolved by adding "umask 002" to
your ~/.bash_profile:
  echo 'umask 002' >> ~/.bash_profile
# Let's fix the umask
$ echo 'umask 002' >> ~/.profile
Install Ansible version 2.8.0 in Ubuntu 18.04 WSL Link to heading
# Install python2
$ brew install python2
# Update pip and setuptools
$ pip install --upgrade pip setuptools
# Install virtualenv and virtualenvwrapper
$ pip install virtualenv virtualenvwrapper
# Create a ~/Envs folder
$ mkdir ~/Envs
We’ll add these lines to the ~/.profile file
export WORKON_HOME=~/Envs
source /home/linuxbrew/.linuxbrew/bin/virtualenvwrapper.sh
# Reload .profile
$ source ~/.profile
virtualenvwrapper.user_scripts creating /home/ales/Envs/premkproject
virtualenvwrapper.user_scripts creating /home/ales/Envs/postmkproject
virtualenvwrapper.user_scripts creating /home/ales/Envs/initialize
virtualenvwrapper.user_scripts creating /home/ales/Envs/premkvirtualenv
virtualenvwrapper.user_scripts creating /home/ales/Envs/postmkvirtualenv
virtualenvwrapper.user_scripts creating /home/ales/Envs/prermvirtualenv
virtualenvwrapper.user_scripts creating /home/ales/Envs/postrmvirtualenv
virtualenvwrapper.user_scripts creating /home/ales/Envs/predeactivate
virtualenvwrapper.user_scripts creating /home/ales/Envs/postdeactivate
virtualenvwrapper.user_scripts creating /home/ales/Envs/preactivate
virtualenvwrapper.user_scripts creating /home/ales/Envs/postactivate
virtualenvwrapper.user_scripts creating /home/ales/Envs/get_env_details
Let’s install Ansible version 2.8.0 inside it’s own virtual environment
mkvirtualenv Ansible2.8.0
New python executable in /home/ales/Envs/Ansible2.8.0/bin/python
Installing setuptools, pip, wheel...
done.
virtualenvwrapper.user_scripts creating /home/ales/Envs/Ansible2.8.0/bin/predeactivate
virtualenvwrapper.user_scripts creating /home/ales/Envs/Ansible2.8.0/bin/postdeactivate
virtualenvwrapper.user_scripts creating /home/ales/Envs/Ansible2.8.0/bin/preactivate
virtualenvwrapper.user_scripts creating /home/ales/Envs/Ansible2.8.0/bin/postactivate
virtualenvwrapper.user_scripts creating /home/ales/Envs/Ansible2.8.0/bin/get_env_details
pip install ansible==2.8.0
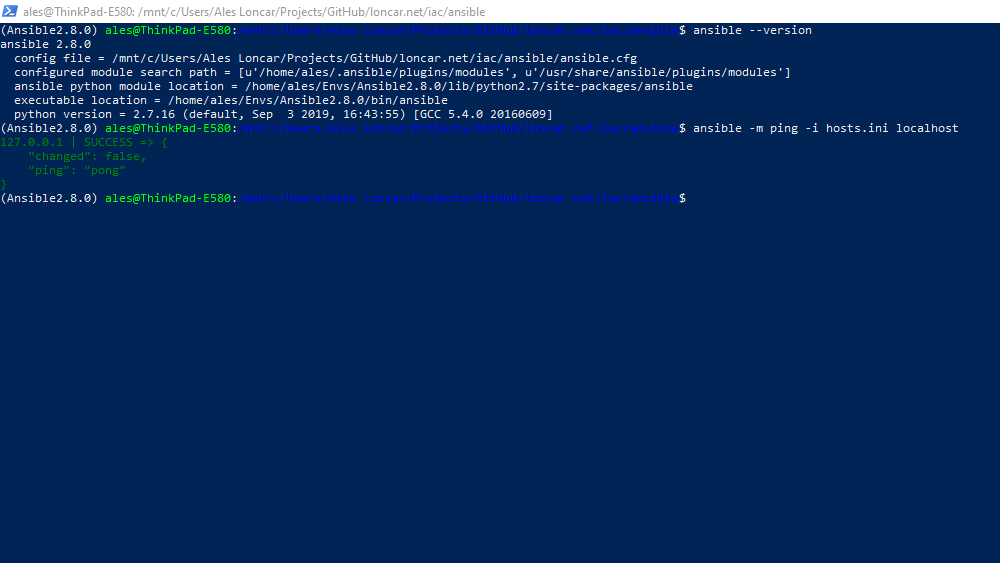
And finally, test Ansible version
(Ansible2.8.0) $ ansible --version
ansible 2.8.0
config file = None
configured module search path = [u'/home/ales/.ansible/plugins/modules', u'/usr/share/ansible/plugins/modules']
ansible python module location = /home/ales/Envs/Ansible2.8.0/lib/python2.7/site-packages/ansible
executable location = /home/ales/Envs/Ansible2.8.0/bin/ansible
python version = 2.7.16 (default, Sep  3 2019, 16:43:55) [GCC 5.4.0 20160609]
Python virtual environments Link to heading
Just a word about Python virtual environments. Virtualenv is a great tool for creating and managing isolated Python environments, and virtualenvwrapper is a set of commands that make dealing with virtualenv more pleasant. You can learn all about the virtualenvwrapper on its documentation page.